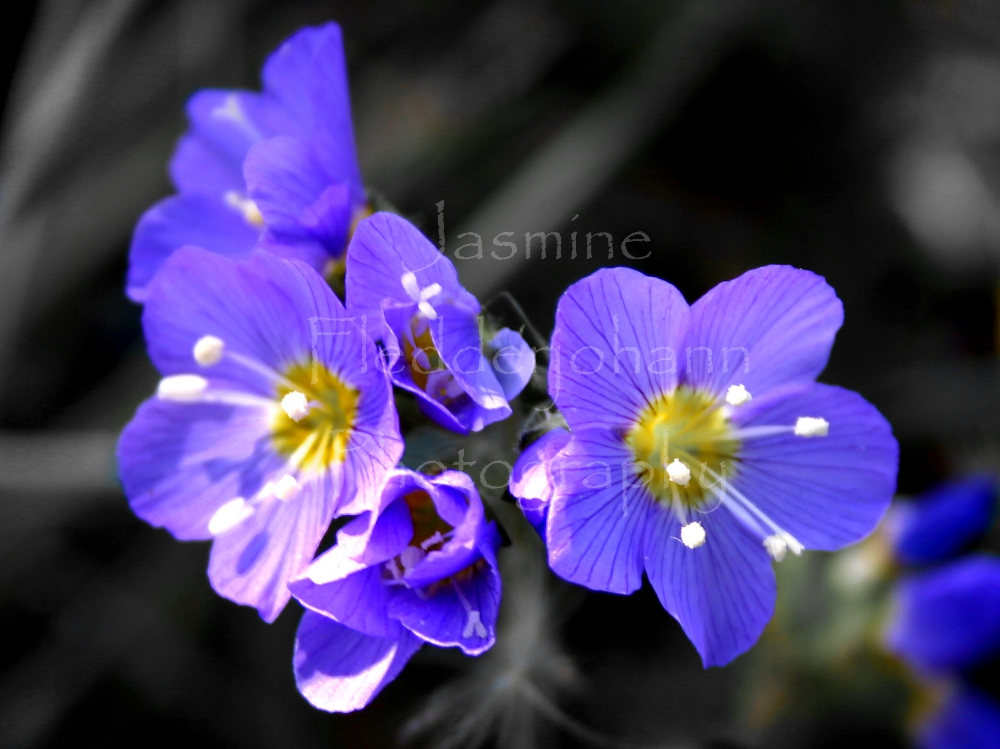
As you know if you read my previous post, I've been invited to contribute a photo collage to a 2013 calendar focused on the subject of peace. Obviously this will be occupying most of my creative time for the next few weeks, especially since I've never used GIMP to create a photo collage. So, if you're wondering how it's done, here goes:
1. In GIMP, select File-->New to create a new file
2. Select Image-->Scale Image and set the dimensions for your collage. You can set the dimensions in pixels, inches, etc in the first drop down menu on the right (next to the boxes where you can enter the width/height. Note: the aspect ratio is locked by default. To change this so that it doesn't automatically adjust the width when you set the height (or vice versa), click on the box that looks like chain next to the boxes for entering the value for width and height. Click the "scale" button at the bottom when you are satisfied with the dimensions.
3. You're ready to add photos now! I'd recommend using photos that have already been adjusted for contrast, tone, etc as a starting point. So, how do you add photos? Well, you'll need to select File-->Open As Layers for each image you want to add.
4. If your photo isn't the size you want it to be (and most likely it's not), you'll need to adjust the size of the layer (NOT scale image, but scale layer). How? In the layers dockable dialog box. This is a little moveable toolbox that says "layers" at the top, and it should have one entry for each pictures you import, plus an entry for your background. The layers dialog box should open as a default in GIMP, but if it doesn't you can go to Windows-->Dockable Dialogs-->Layers.
5. In the layers dialog box, right click on the image you want to resize. From the menu that appears, select "scale layer". Now you can resize the image just as you normally would. You will need to do this for each photo that is not the right size.
6. Lastly, move everything around and fiddle with the background colors until you are happy with the appearance. That's it!
My photo collage is very much still a work in progress, but I figured I'd go ahead and share what I have so far. I'm still working on shooting/editing photos to add, and obviously I still have some work to do arranging the photos. I am the only photographer in the calendar, and since everyone else is painting or drawing, I've been using artistic filters to edit my photos to fit with the stylistic theme. I'd love some feedback if you have any initial reactions/suggestions :)